Yet again – no udon noodles (they will appear this week – watch this space)
Hopefully, by now you have got your starter well underway. If you haven’t got any sourdough starter, read this post first ‘starting a starter‘, then check to see if your starter thick enough?
I like to start my sourdough loaves in the evening (usually about 5pm) and let them have a very long first rise (overnight) and bake in the morning. If I am feeling very energetic, I get up early so we can have fresh bread for breakfast – but often we eat it hot out of the oven with soup for lunch. By now, your starter should be a little bubbly. Before starting on the bread-making, it is important to make sure you look after your starter. In the instructions below, you will see that the bread-making will use about 2 tablespoons of starter – you will need to replace that quantity with more flour and water (instructions given below) – this will feed your starter and keep in in great condition. Once you have used your starter leave it out on the kitchen counter for some time (I leave mine out overnight) and once good bubbles have formed put it back in the fridge until next time – remember the golden rule: equal weights of water and flour in the starter.
Here we go…
You only need four ingredients
• Plain flour
• Water
• Salt
• Starter
and, as your starter is only made of water and flour, your bread only has three ingredients.
Scoop out 2 or 3 tablespoons of starter into a clean bowl (I use a glass bowl) – this is not a chemistry experiment and exact amounts are not necessary… so about 2 tablespoons is fine. Top-up your starter (this is the starter in the jar, ready for next time you want to bake a loaf) with 50g of water – give it a good stir and then 50g of flour (you can vary this amount to keep your starter jar about half full). Leave the starter out of the fridge until bubbles have started to appear and then put back in the fridge until next time.
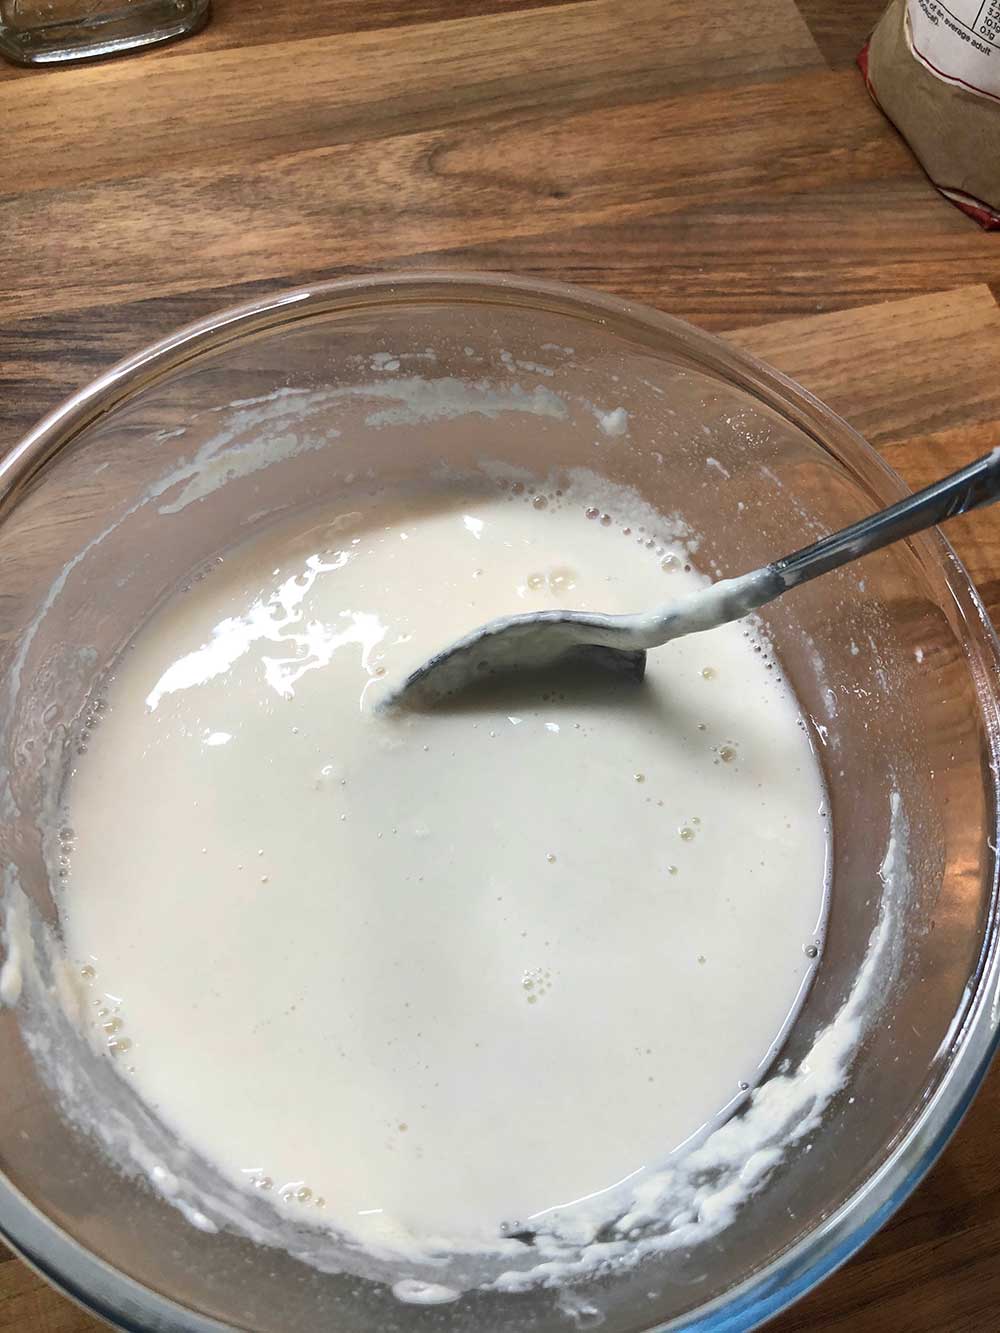
Add to the bowl 100g of water and mix this until you get a smooth mixture (it will have the consistency of thick cream) and now mix in 100g of flour.
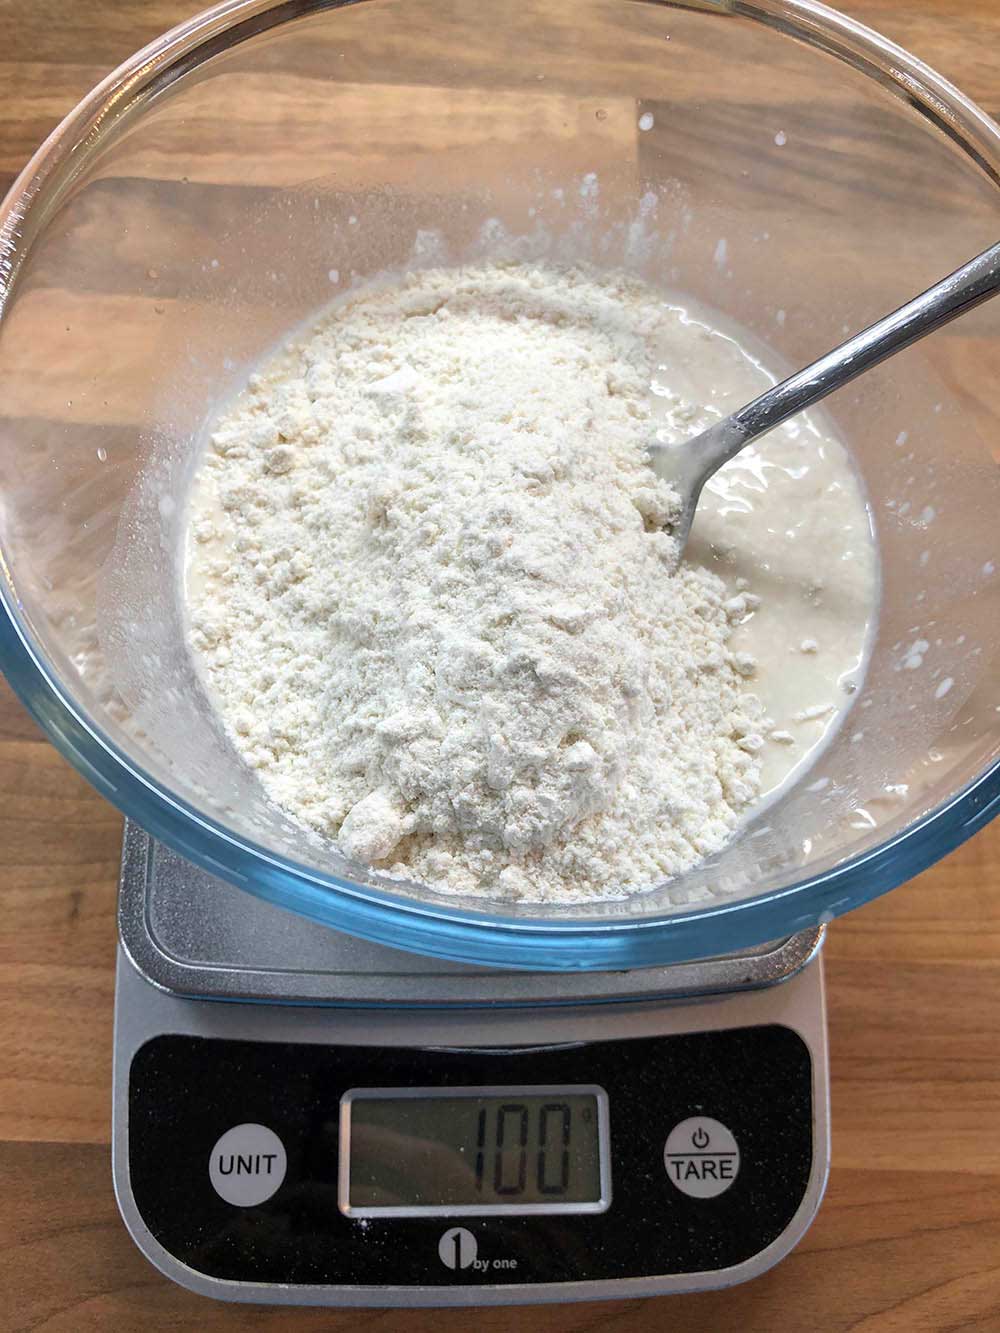
This is called a leaven… and it is this that will make your bread rise. Some people leave this leaven overnight but I like to use it straight away.
You will need 530g of plain flour – I use normal plain flour but you may like to use ‘strong’ flour. It is more expensive but it does (I think) give a better texture to the bread. Have a look at the protein levels on the packet… For example, the cheapest flour I can buy says that, per 100g, it contains 10.1g of protein. The strong ‘bread’ flour comes in at 11.7g and the ‘very strong’ is 15.8g – quite a difference – so experiment.
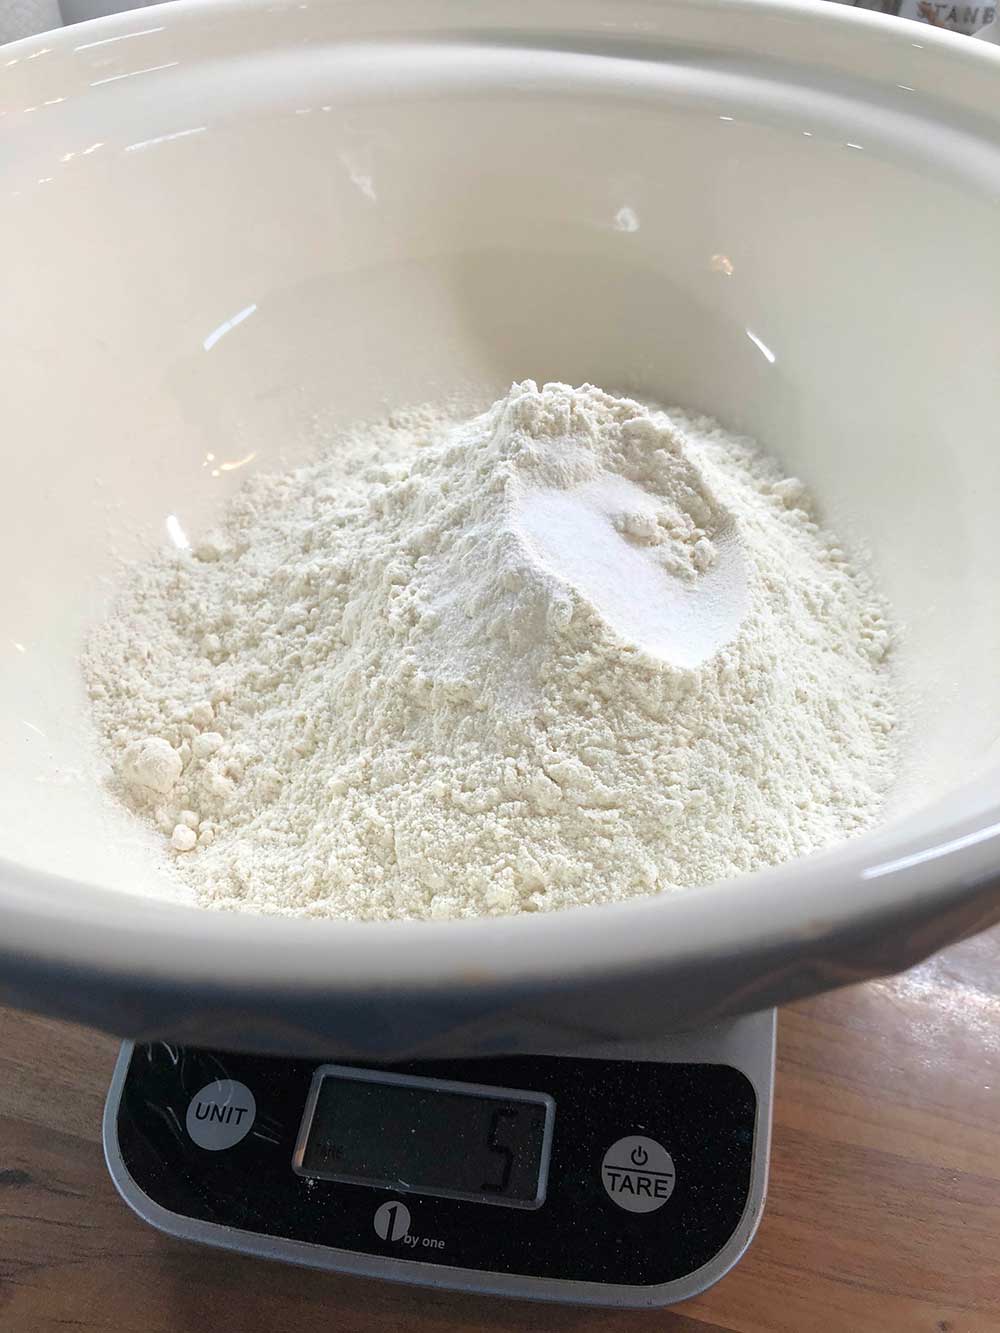
Weigh out the flour (530g) and add some salt – I use 5g of salt which is enough to give the bread flavour without overdoing it… but you can add more or less. To compare, a typical 800g loaf from a supermarket contains more than 7g of salt. You will be making a loaf which is close to 1000g so 5g of salt is considerably less than supermarket bread.
Mix the flour and salt.
Back to your leaven – add in a further 190g of water and stir. (note these are the quantities I use… you may have different flour and you may need a little more or a little less… you will get the feel of the ‘stickiness’ of the dough – but start with 190g and see how you get on).
Pour the liquid (leaven and water) into the flour and salt and mix into a rough dough.
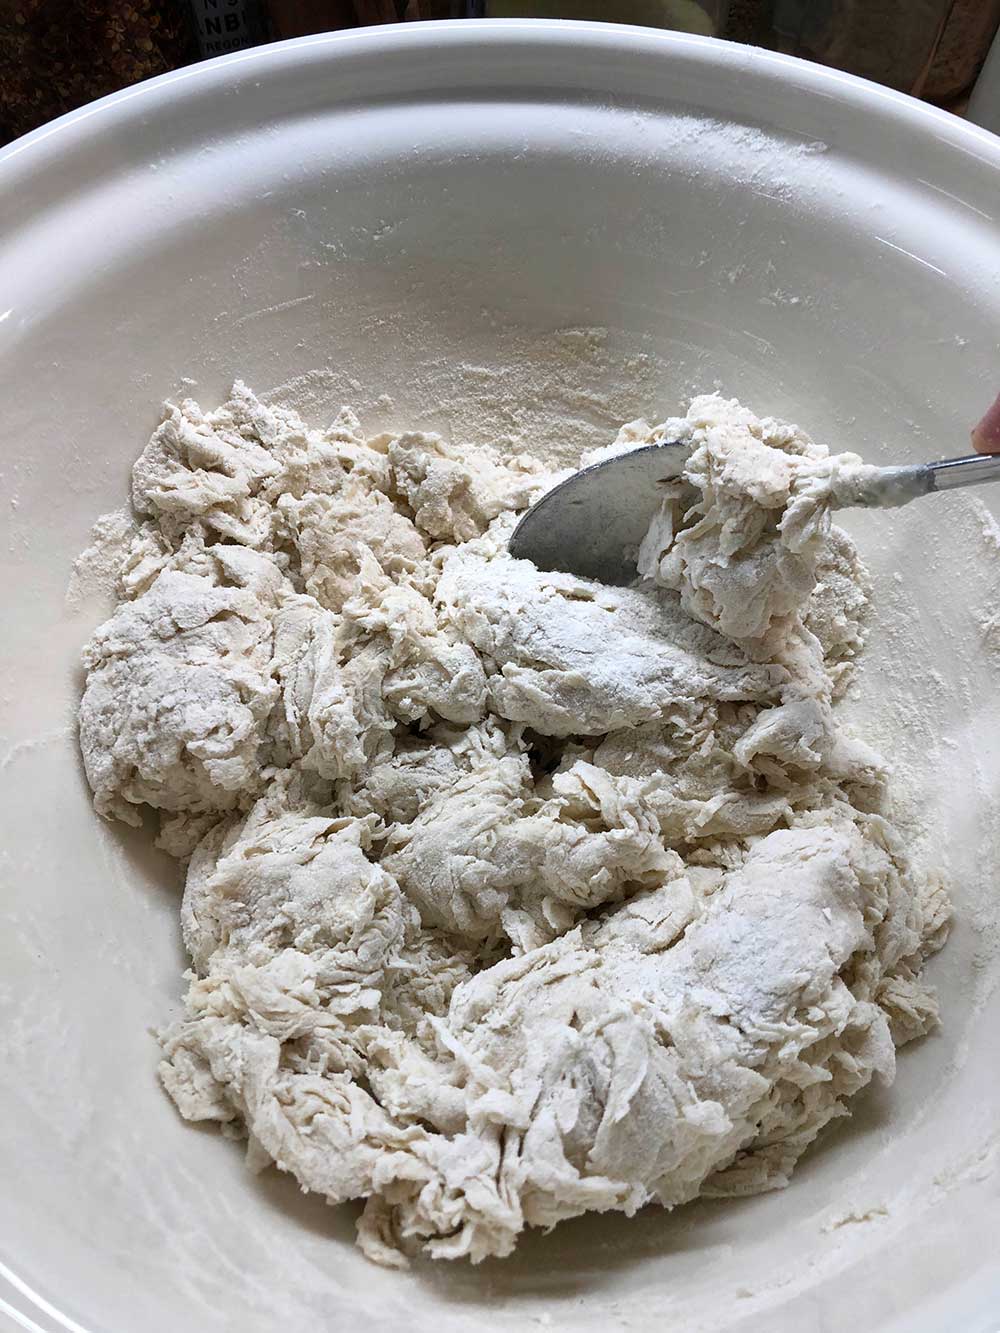
Using your hands bring the dough into a ball. It may look very rough at this stage – don’t worry it will fix itself soon enough.
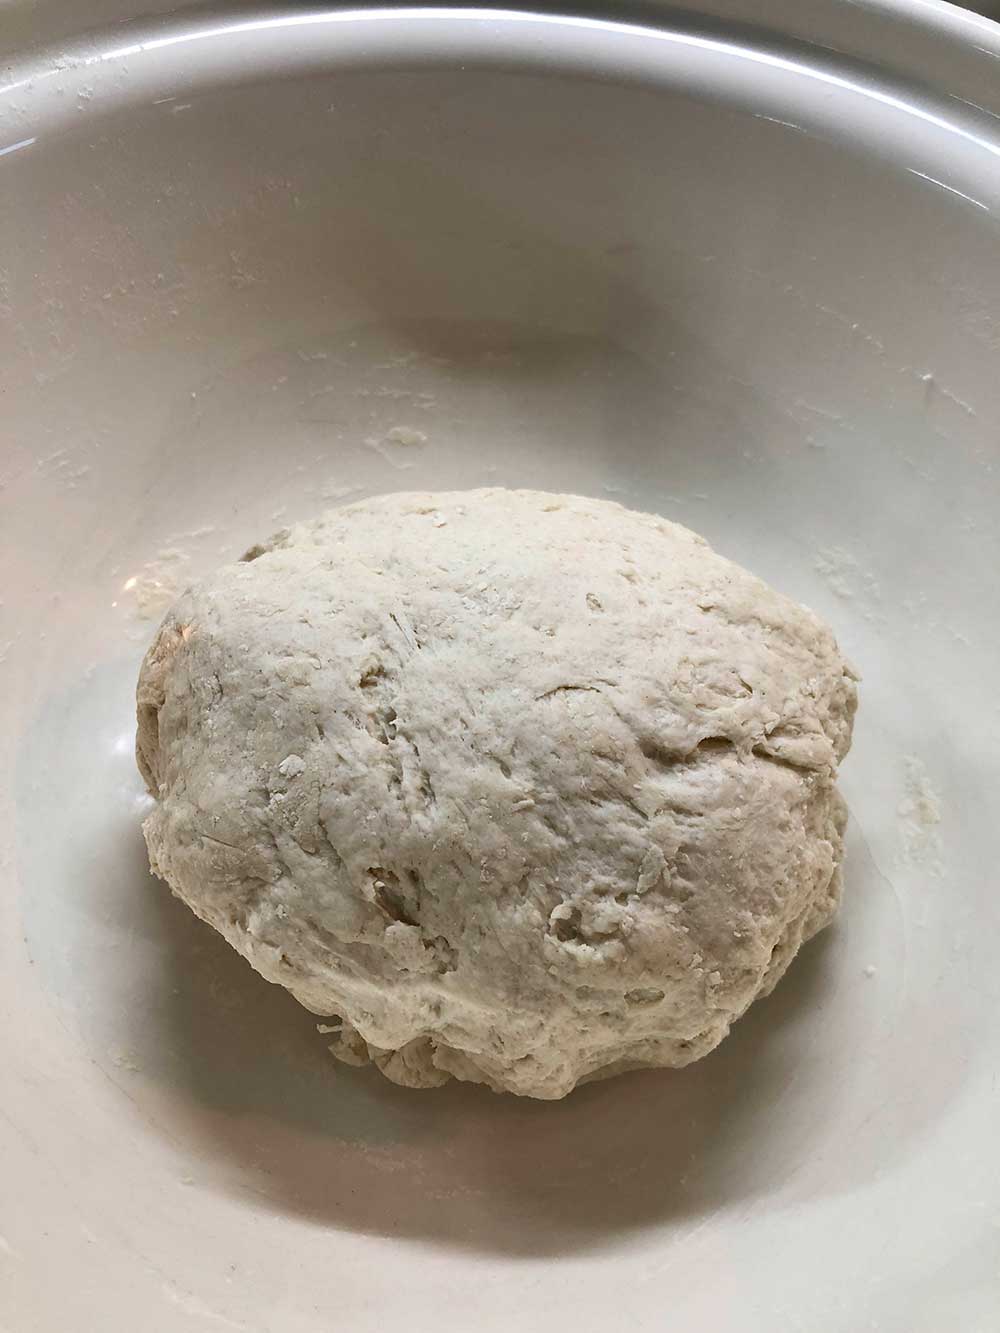
Put a lid over the bowl and leave it for at least 30 minutes (it will be fine if you forget about it and leave it for an hour or two).
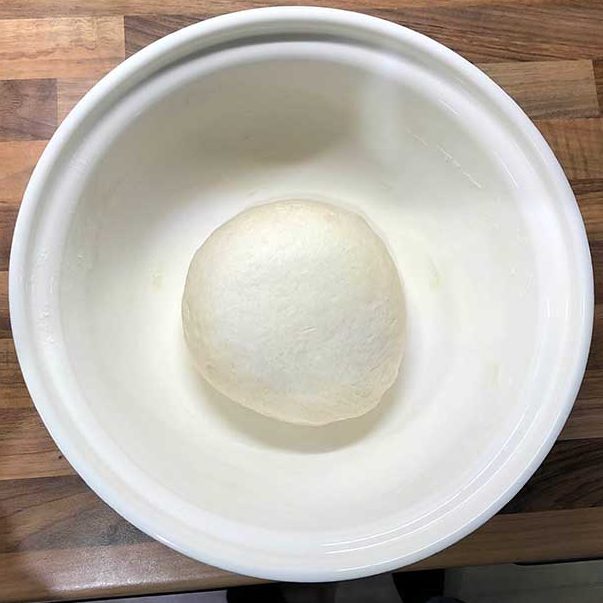
You now need to ‘turn’ the dough. This is much easier to do than to describe..
I lift a bit of the dough from the back of the bowl and pull it towards the centre, turn the bowl a little and do it again… and keep doing it… the bowl rotates and after a few turns the dough ball will begin to look smooth:
Put the lid back on and go to bed. While you sleep, the starter will start to perform its magic and in the morning it will have transformed into a risen dough…
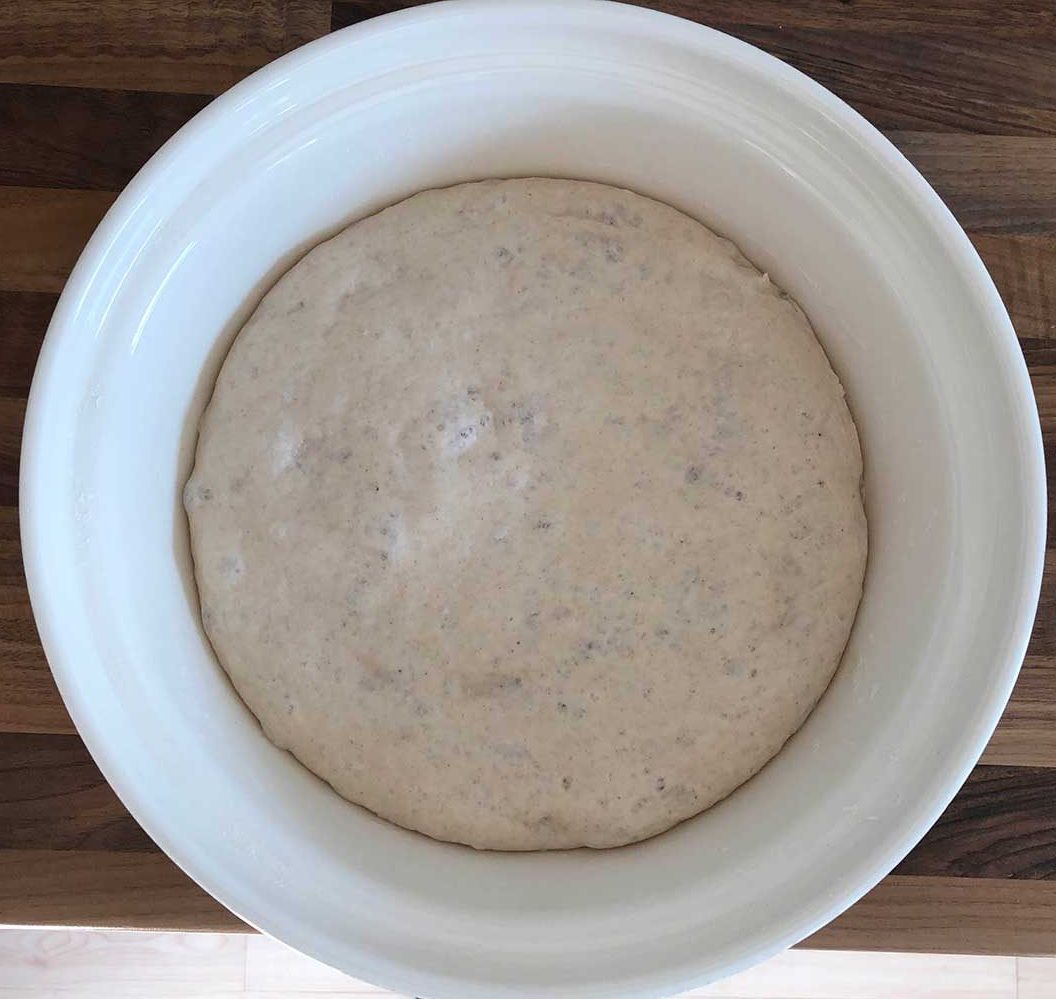
If you don’t want to leave it overnight, you can leave it for a couple of hours and then move on to the next stage – it works, but I don’t think it the same texture and taste.
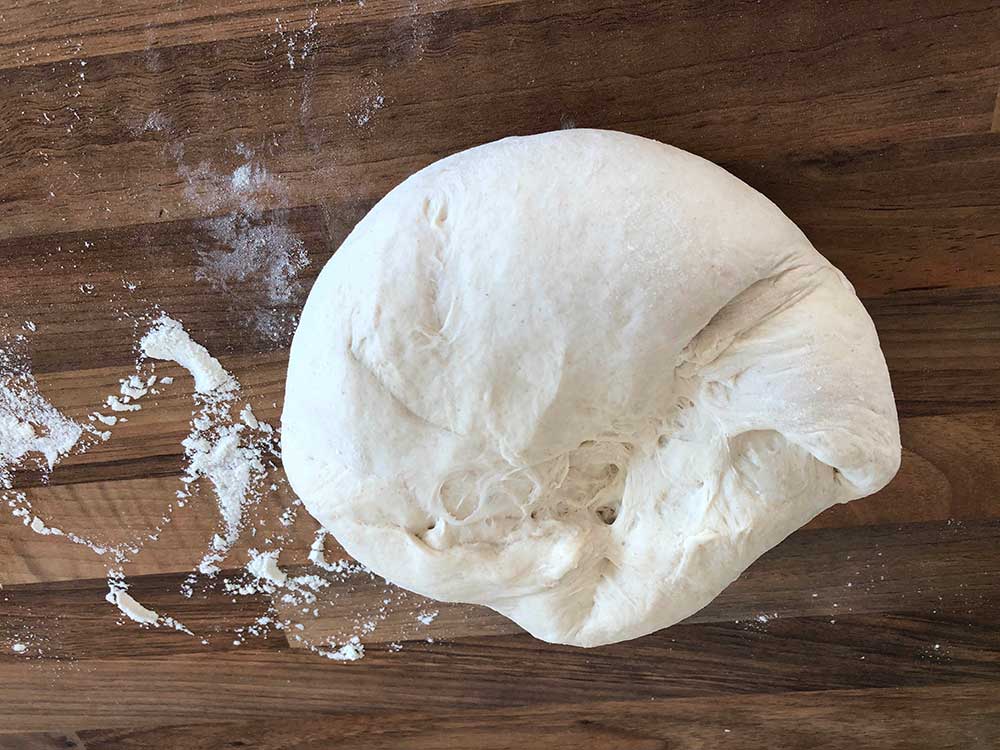
Scoop it all out of the bowl and onto a floured surface and knock it back – this doesn’t take long – a minute or two of kneading should be fine.
You now have to decide what you are making (one loaf, two smaller loaves, freeform or in a tin, rolls, baguettes English muffins etc.); today I am making two smaller loaves freeform (that is, without a tin to shape them). I will post variations over the coming weeks.
For two loaves, you need to divide the dough into two (I weigh the dough – it will be about 1000g and then split it and weigh the two pieces to get them the same size)
Knead each loaf into small rounds – I pull the dough into the middle which makes the underside round and smooth.
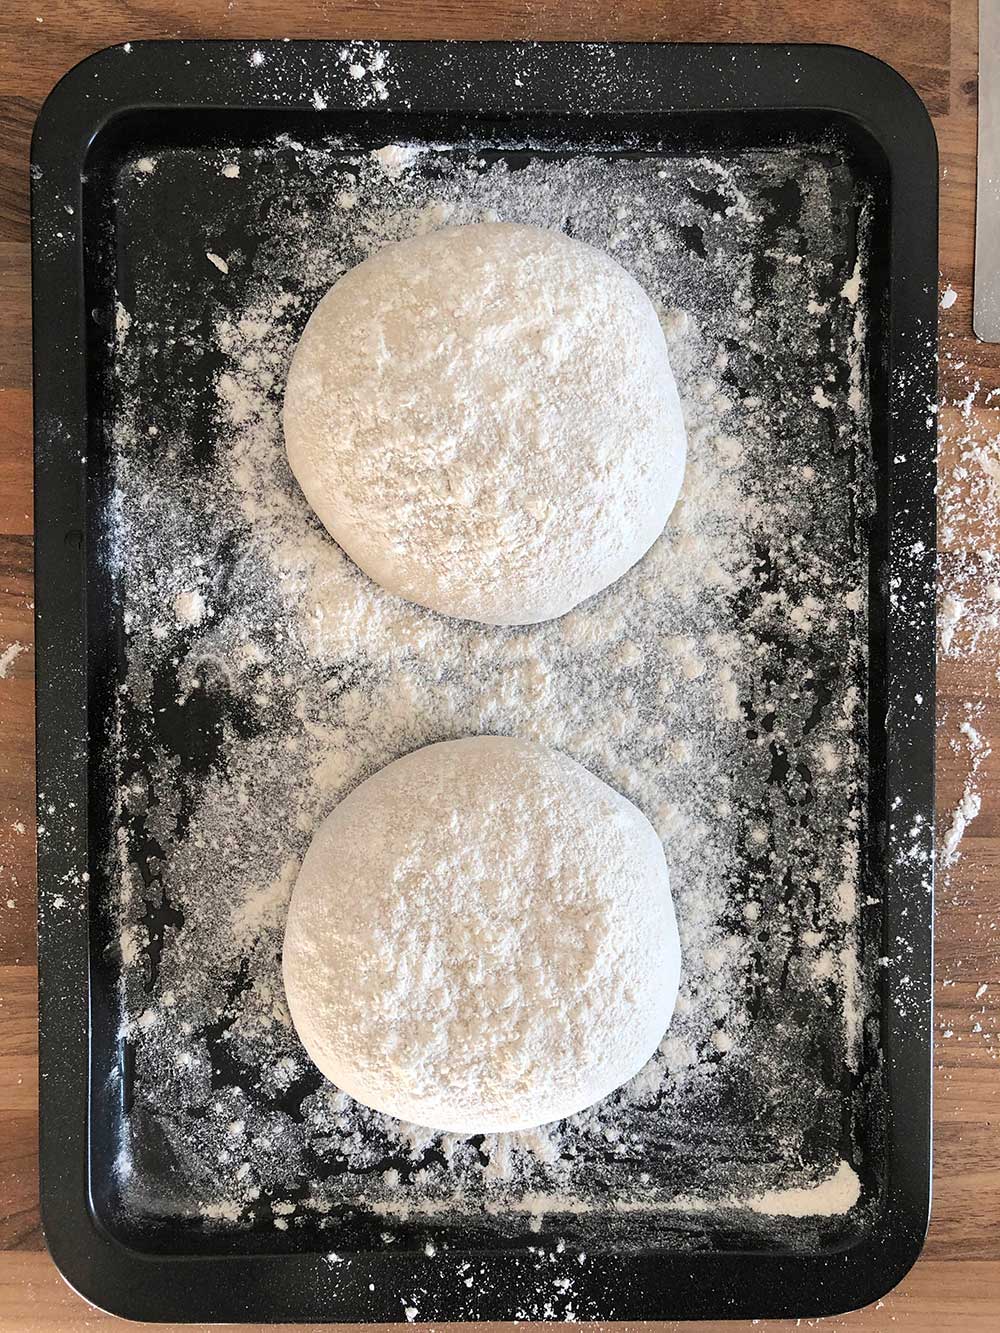
Place these on an oiled and floured baking sheet and dust the tops with flour. Note that I have left space around them, they will expand… I quite like them to touch as they rise… you get a lovely flat edge where they are split apart after baking.
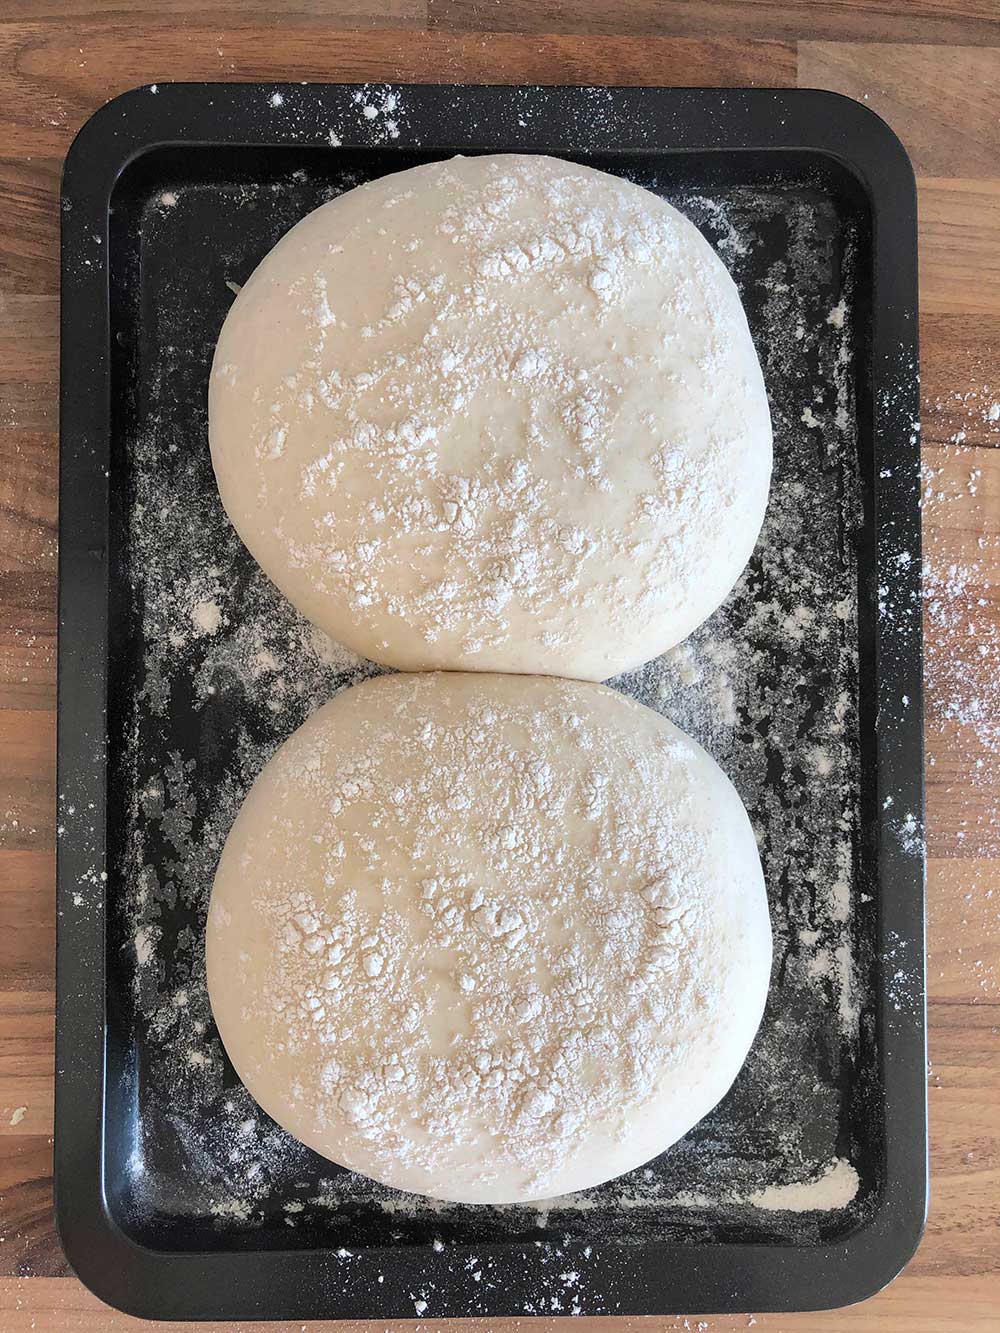
You now need to leave these alone for an hour or two… This is a very imprecise measurement because it depends on your surrounding temperature. I like to leave them in my oven (turned off) with a baking tray at the bottom of the oven containing boiling water (about 250ml)… the water heats the oven space and keeps the air humid. Mine take about 90 minutes and then they are ready for baking. Notice how much bigger they are after 90 minutes.
While you are preparing them to go in the oven don’t forget to turn the oven onto 200C ready to bake them in a few minutes.
Now dust the tops with more flour – this is important as it will help the knife not to stick and not ‘drag’ the dough.
You can slash to tops however you like – but do slash them. I like a deep cross – the bread will rise up into the cuts during the bake (tip – use a sharp knife).

And they are ready for baking. I leave my tray (with a little water) in the oven as it generates steam and provides a better crust. These small loves will take about 30 minutes at 200C – Note: if you are making one large loaf then leave it in for about 35 minutes.
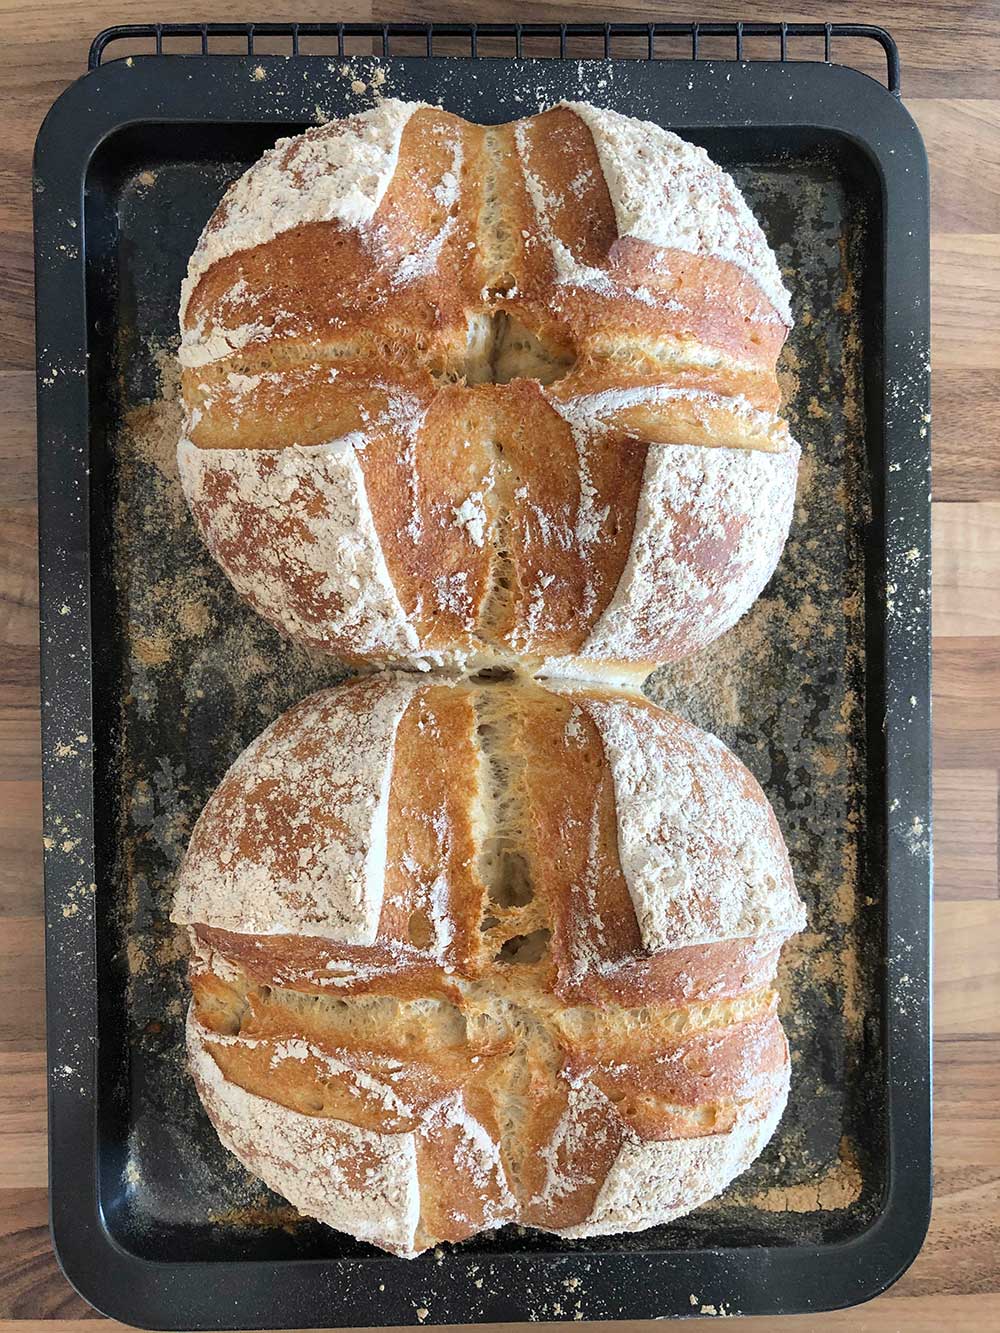
And leave to cool for as log as you can resist…
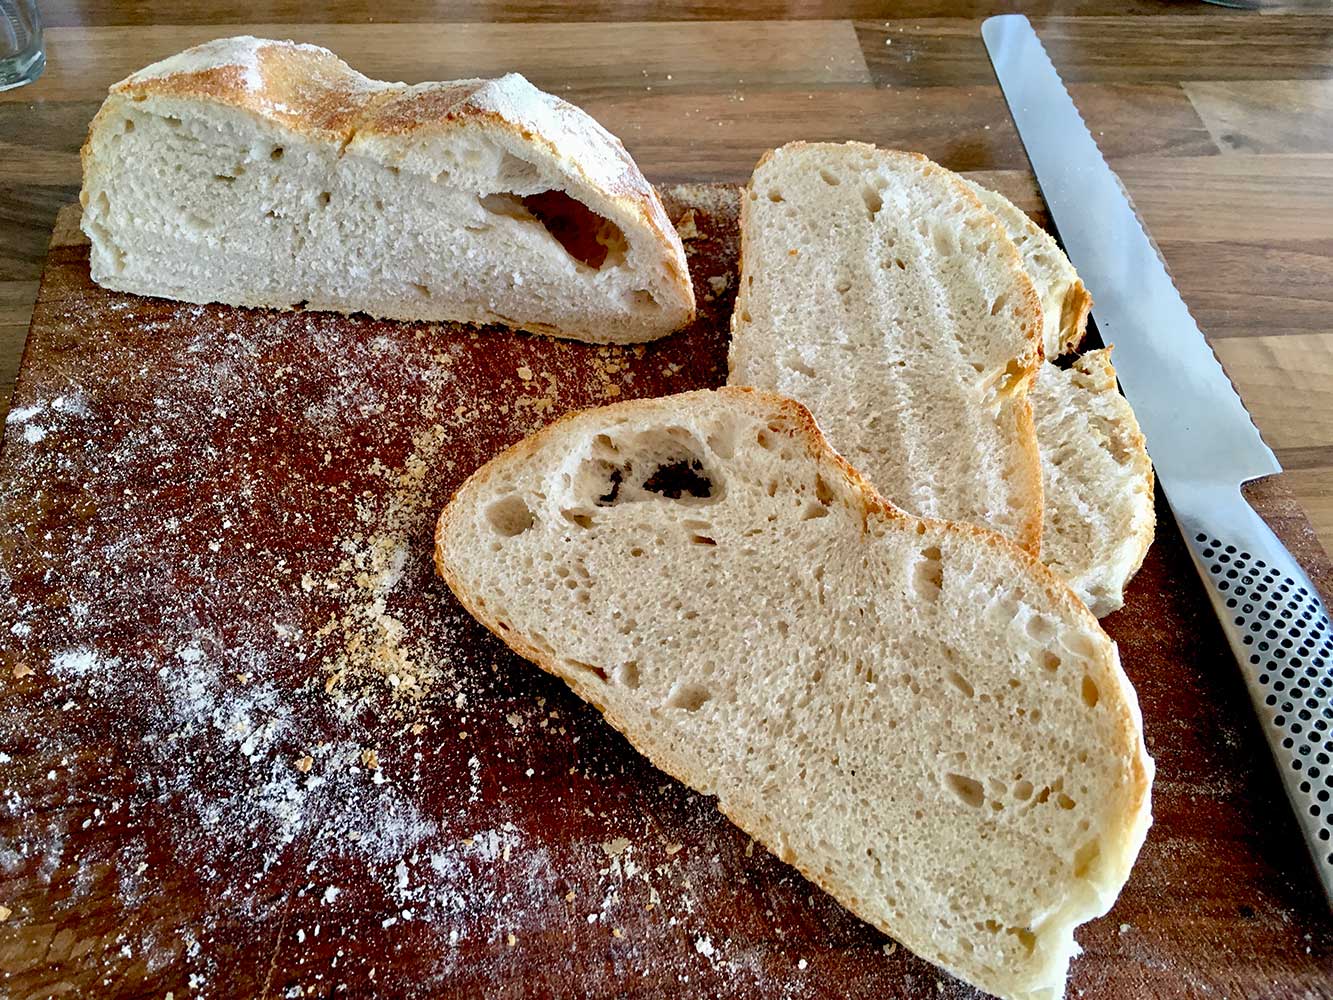
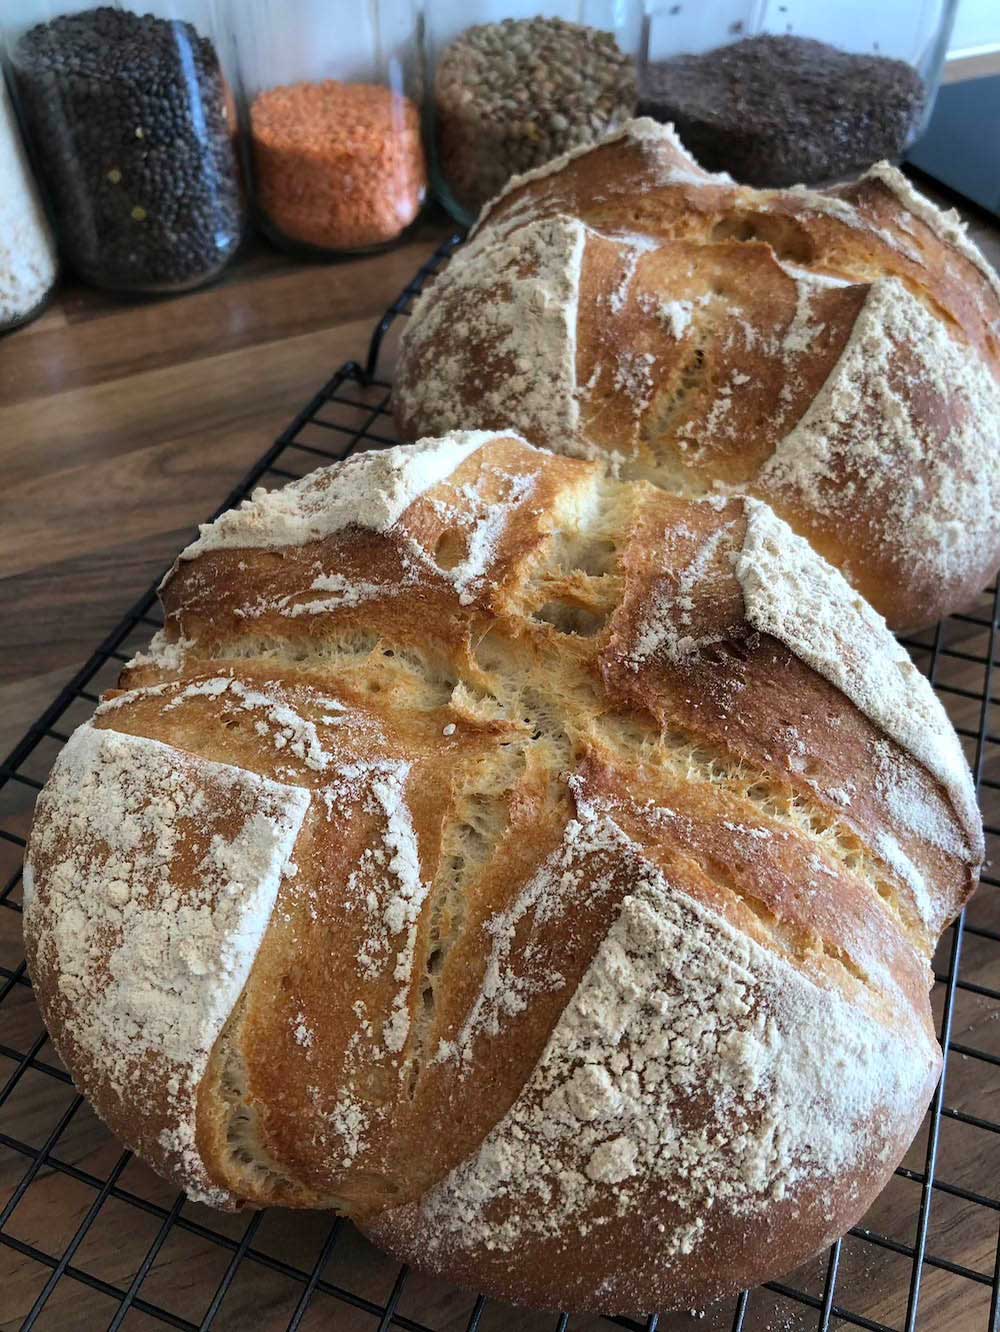
Hopefully, you will now have two lovely loaves with light texture.
Please do comment and post photos of your bread. If they don’t look fully risen, it is most likely to be the moisture content… if your dough felt very ‘sticky’ when making the rounds… use less water next time… if very ‘stiff’ use a little more water.
Excellent blog and instructions!!! I have really enjoyed making my first ever sour dough bread…well first ever bread too! Thanks uncle David! Look forward to trying more.
They look fantastic – really very good for your first loaves and with a new starter. Well done Zoe 🙂
Thanks! Will let you know how they taste!
Hmmmm
Hi Charlotte. Well done. I think they look very tasty. Nice crust. I am assuming you have used a starter that you have created… Starters get more active as you use them. You might wan to leave yours out for another couple of days – and add to it each day to really ‘get it going’. I think you should be pleased with these as a first attempt (I’ve seen lot worse).
Thank you for all the advice, I have finally got it right! ?
With flour becoming less available we used tried experimenting with some wholemeal flour!
Yum!
xx
They look delicious. Well done experimenting with different flours. Wholemeal can be a little tricky… It often needs extra water… When you’ve made a few loaves, you will get the ‘feel’ of the dough. One tip: try mixing your flours – when I make a ‘brown’ loaf, I use 200g wholemeal flour and 300g plain white flour. 🙂
I have attached a photo of a brown seeded loaf (this is the full amount of dough in one loaf tin)…
Pingback: Bagels | The Ashes' Food